O-Calc Pro allows the use of scripting to automate repetitive tasks, to perform structure verifications, and for other tasks. The use of the scripting system is covered in detail in the manual, through training videos, and in other articles. The purpose of this article is to detail the steps involved in configuring the scripting system to work on your system.
There are three basic steps that need to be accomplished to configure the scripting system. (1) Enable the scripting plugin (2) Determine where your script files will be located on your local workstation or on the network (3) Select and configure the editor program you will use to create and modify scripts.
Let’s go through each of these steps:
Enable the scripting plugin
With O-Calc Pro running select the Options >> Manage Plugins menu item
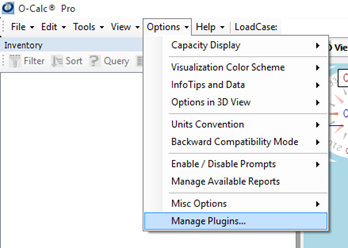
Enable the “Scripting Plugin” option and apply, restarting O-Calc Pro

The scripting functionality is now active on your O-Calc Pro installation. The scripting menu item will appear on the “Tools” menu.
Setting the script folder
You next need to tell the scripting tool where the script files are to be located. There can be multiple locations that are used for the scripts for different projects, but we are just going to configure one for this example.
Select Tools >> Scripting >> Manage Scripts and you will see the script manager.


Click the browse for folder ellipsis button and select the folder where you want to place your scripts,
Configuring the editor
Configuring the editor is by far the most complex of the tasks. First you need to decide which editor you want to use. The four options are Visual Studio (including express), Notepad++, Xamarin Studio, and Other.
Visual Studio is the recommended tool for most users. It allows the use of “Intellisense” which makes the creation and editing of scripts much easier. Xamarin Studio (available from Xamarin.com) is a freely available editor that is part of the Mono suite. Notepad++ is a freely available editor (available from notepad-plus-plus.org) that include syntax highlighting but DOES NOT include Intellisense. Finally the Other option simply uses whatever editor you have configured your windows explorer to associate with a .CS file type.
Let’s configure Visual Studio. In this case we will use Visual Studio 2012 but the steps for other versions and other editors are largely similar.
In the script manager window select Help >> Options >> Visual Studio. This will place a checkmark next to that option and select Visual Studio as the editor.
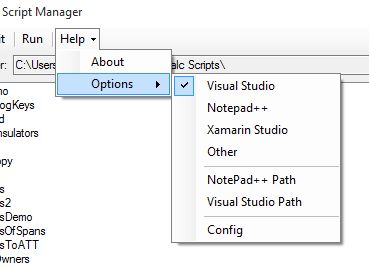
Now select Help >> Visual Studio Path
You now need to enter the full path of the location of your “devenv.exe” file (developer environment). For Visual Studio 2012 this file is located here…
“C:\Program Files (x86)\Microsoft Visual Studio 11.0\Common7\IDE\devenv.exe”
But for express versions and for other versions of visual studio this path and file name may be different. For example the path and file name for Visual Studio Express 2014 would be
“C:\Program Files (x86)\Microsoft Visual Studio 14.0\Common7\IDE\WDExpress.exe”. You can use the search functionality built in to your windows file explorer to help you locate your devenv.exe or WDExpress.exe file.
Test
Your scripting system should now be configured for use. To test it select File >> New in the script manager and create a script called “Hello World”. Visual Studio should launch and you should see something similar to the the following:
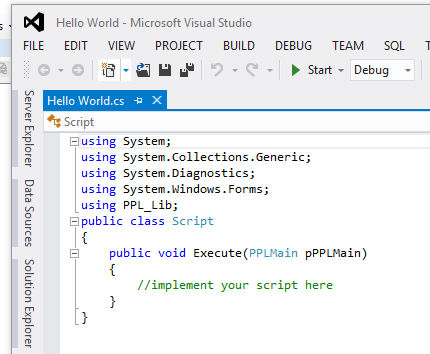
Replace the line “//implement your script here” with “MessageBox.Show(“Hello World”);“ and select File >> Save in visual studio.
Switch back to O-Calc Pro (you do not need to close Visual Studio) and highlight “Hello World” in the script manager window then click Run
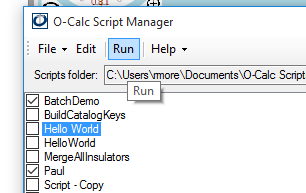
Your script will execute and you should see the following:
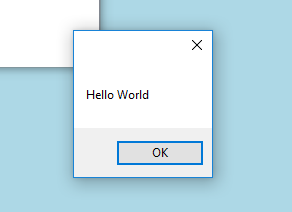
Your scripting system is now configured and you can use it to perform edit operations, verification, report generation, and other tasks. Please see the other articles detailing various script APIs and functionality available to O-Calc Pro users.
The following is video demonstration of creating a script using the scripting plugin that sets the ‘Owner’ attribute on all spans on a pole.